Led Ring
In this lesson, students will learn about ring light and how to program it using BrainPad Arcade.

Target Audience
Anyone 13+ will benefit from this series. Younger audiences can still follow along when paired with an adult. An example can be a pops/grandchild STEM weekend event!
Setup
You will need any computer with a modern internet connection. Windows, Mac, and even Chromebook will work!
Having a BrainPad Arcade will help you understand the Edge connectors, take the game you made, and load it on a device you are holding.
And you will need a Ring LED and alligator clips.
And you need to finish the Edge connectors project from here.
LED Ring setup
In the previous projects, we connected an RGB LED and controlled it.
In this lesson will work on LED Ring, which is 8 LEDs together! First, you will need to add a new extinction, which is the “Light” extinction.


The LED Ring has two types in MackCode Arcade:

The first one: APA102 is more complicated and you need to learn about the NeoPixel clock and Data.
The second one: WS2812 is one that we are going to use, which deals with pixels only.
You have 8 LEDs in the ring, to control it, each one has a number and you can set a color for each LED using its number.

Connect the LED Ring
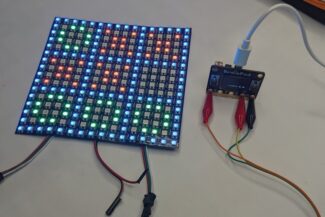
all that you need to connect it are alligator clips, you will connect “GND” from the LED ring to “GND” on the Arcade, “RGB” from the ring led to the pin you want to use to control the ring, “VCC” from the LED ring to “3V” on the Arcade.
in this project, we will use PIN0.


you need to set the ring type as we mentioned before and then choose the LED number and color.
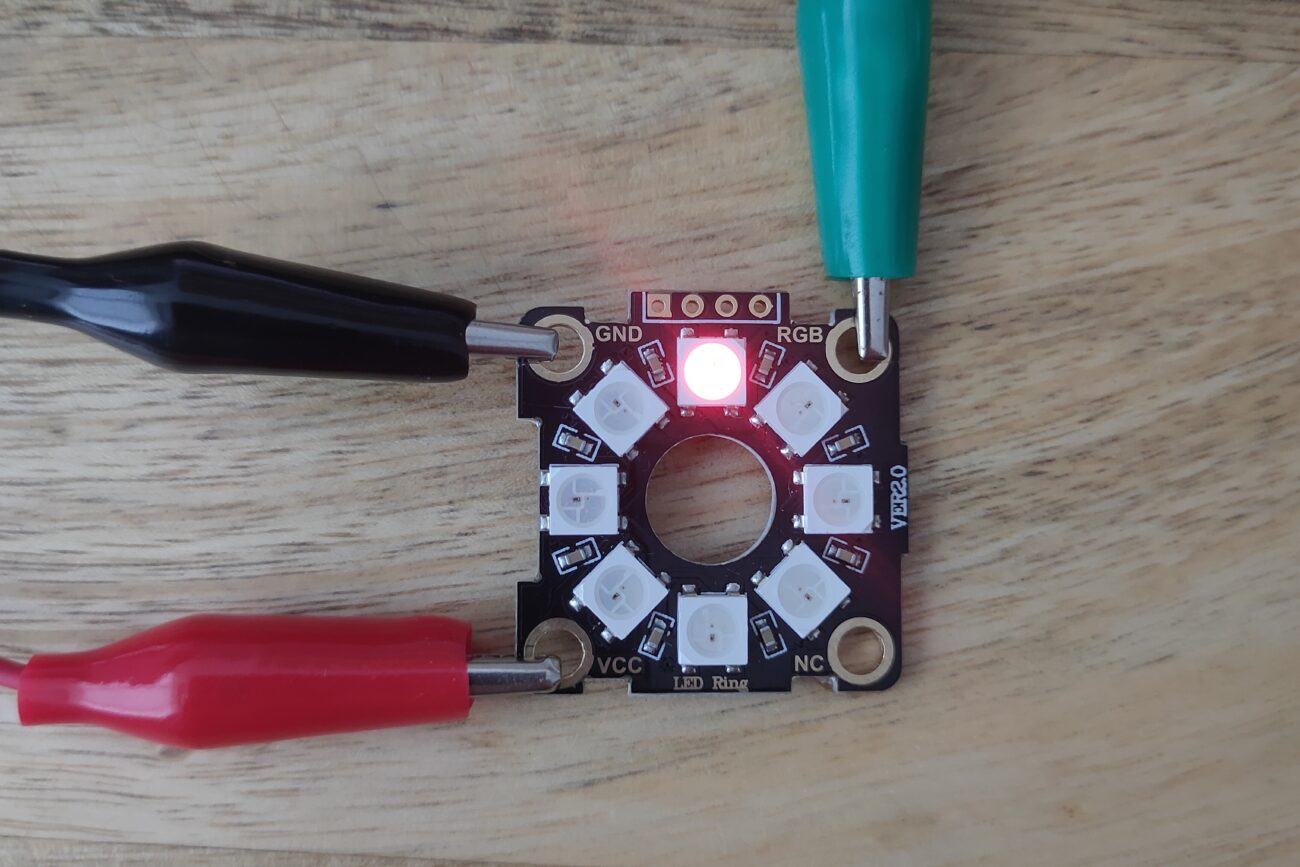
You can use the ready-to-use blocks that show some cool animations on the LED Ring.
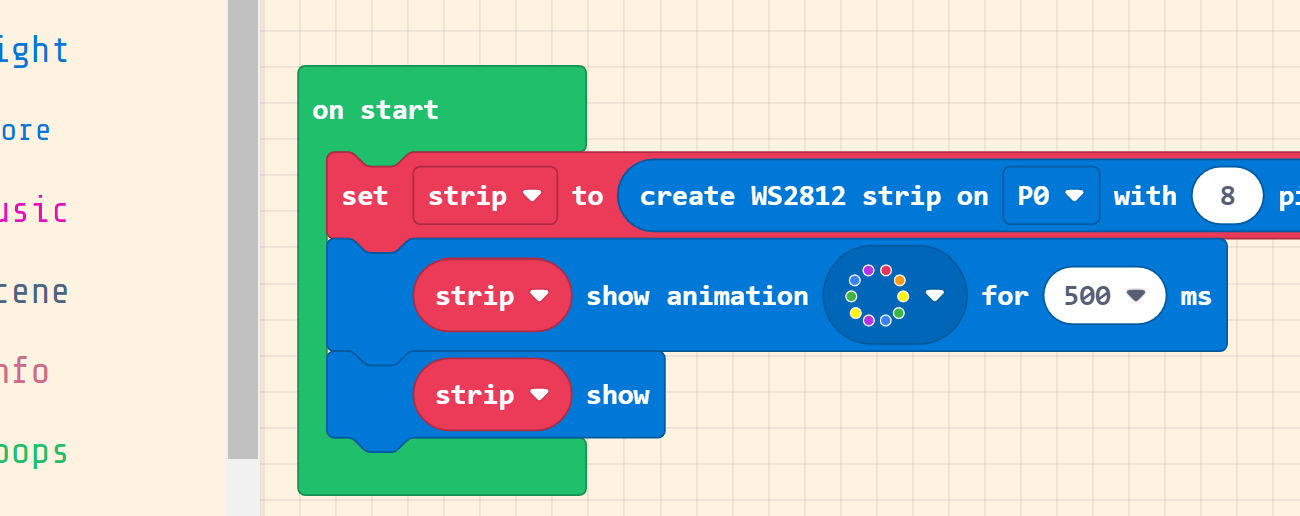
Then?
Try to create a game, and connect the LED Ring to add more fun to your game!


