Edge Connectors
In this lesson, students will learn about the Edge Connectors on the BrainPad Arcade and how they can use them to connect sensors and circuits to expand the functionality of their arcade projects.
Target Audience
Anyone 13+ will benefit from this series. Younger audiences can still follow along when paired with an adult. An example can be a pops/grandchild STEM weekend event!
Setup
You will need any computer with a modern internet connection. Windows, Mac, and even Chromebook will work!
Having a BrainPad Arcade will help you understand the Edge connectors, take the game you made, and load it on a device you are holding.
And you will need an RGB LED and alligator clips.
Adding Edge connector
First, we need to add the Edge connector extension to our project.


Then, under the “Advanced ” section you will have a new code block “Pins”.

from these “Pins”, you can program and control the “Edge connector” in the BrainPad Arcade microcomputer.
To know the PIN you need, flip the Arcade to the back, and you will find all PINs.
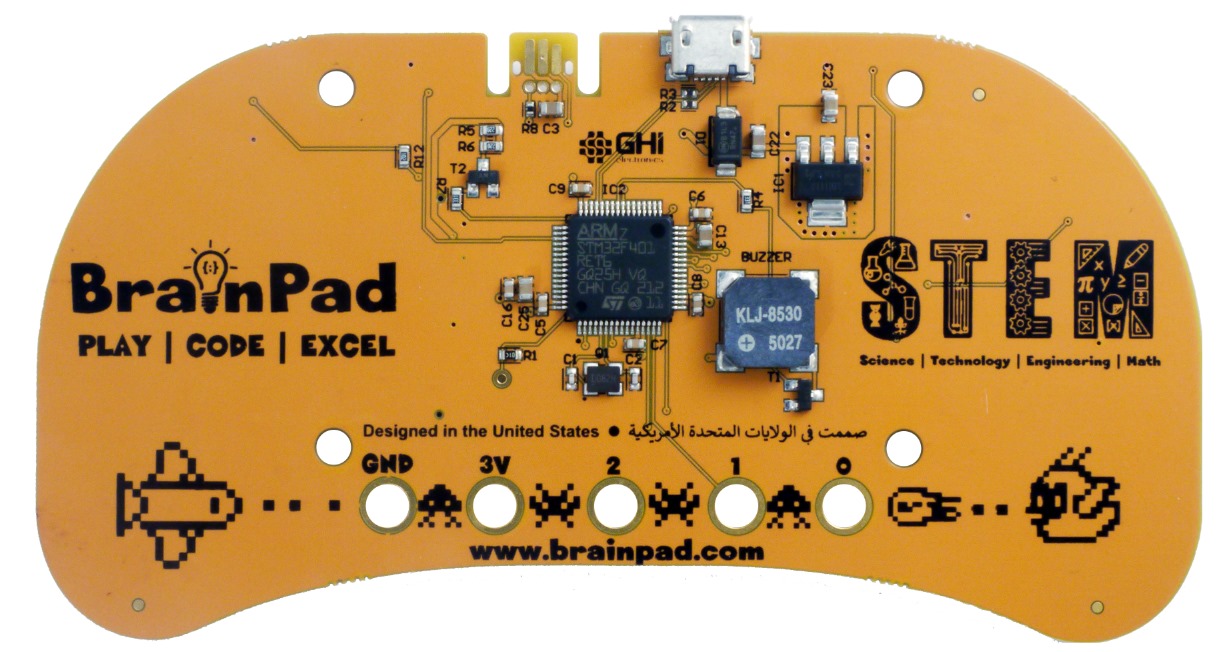
Let’s Do Some Light Magic!
Open MakeCode Arcade, and start a new project
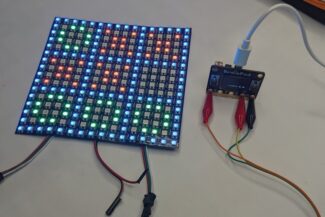
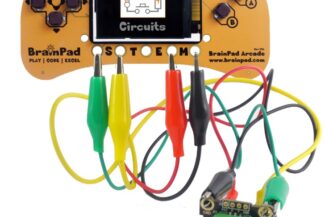
Now, let’s try an example of the edge connectors, we will connect an RGB LED to the Arcade and turn it on/off

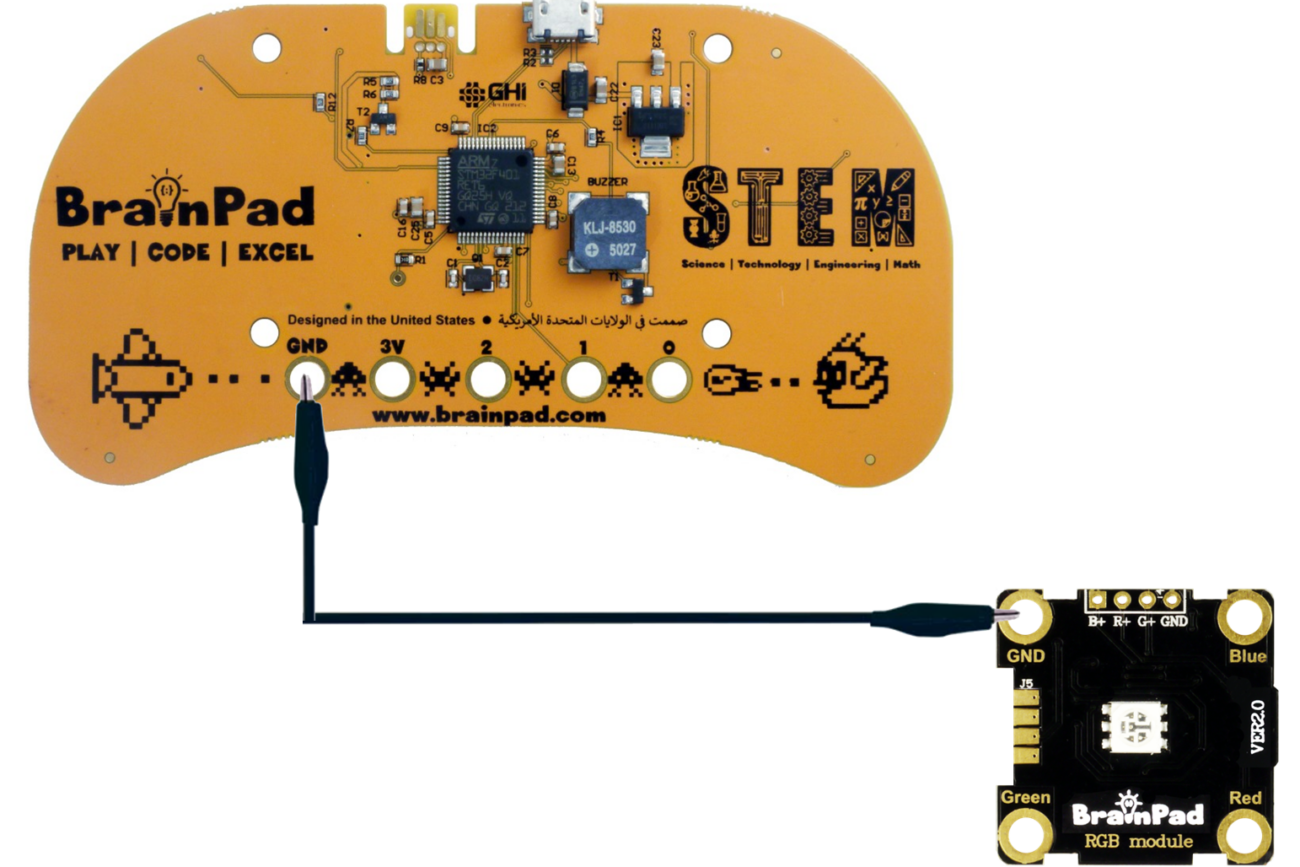
First, We will connect the GND from the Arcade to the GND at the RGB LED.
Then, we will connect the first color “Red” using an alligator clip to PIN0

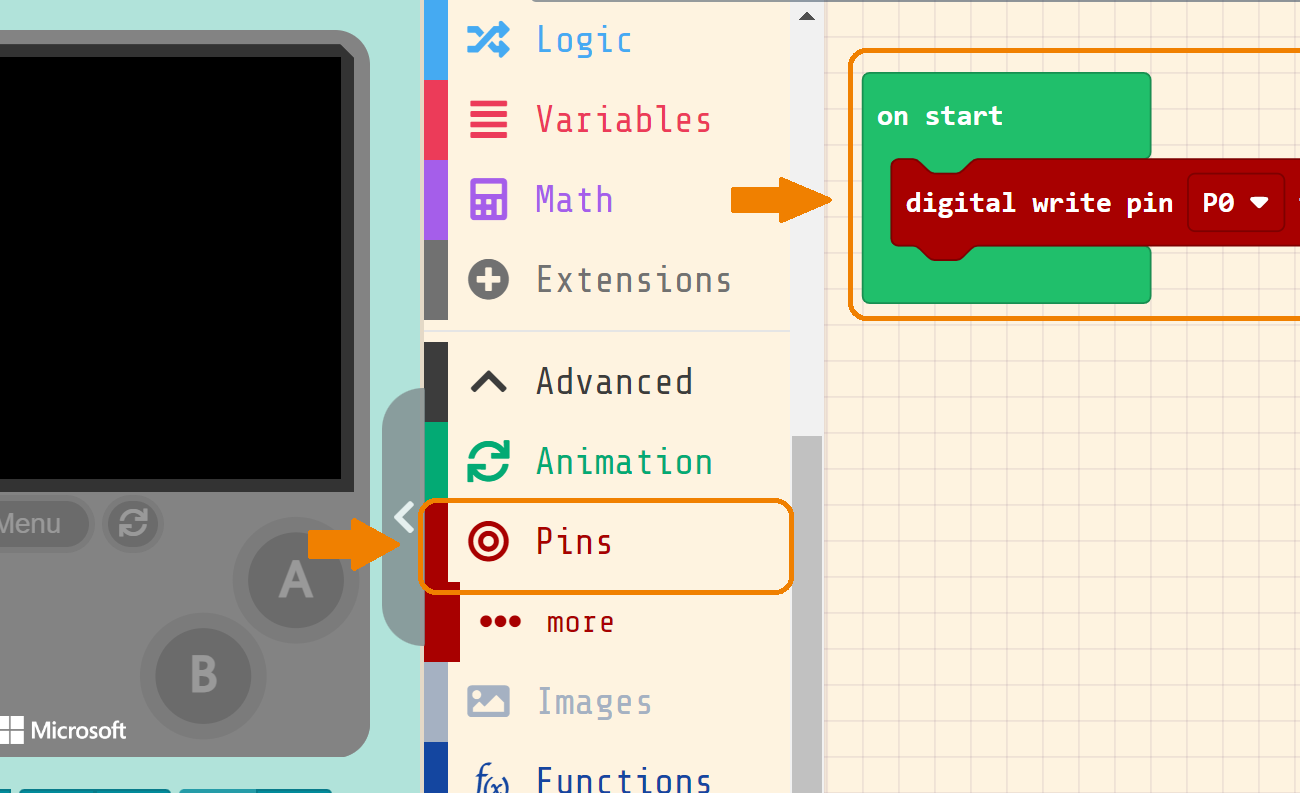
Now, go to the PINs section, drag “digital write pin (P0)” and set it to “high”
this code tells the Arcade to turn the PIN on, which means the Red color will turn on.
Download it to your Arcade, and try it
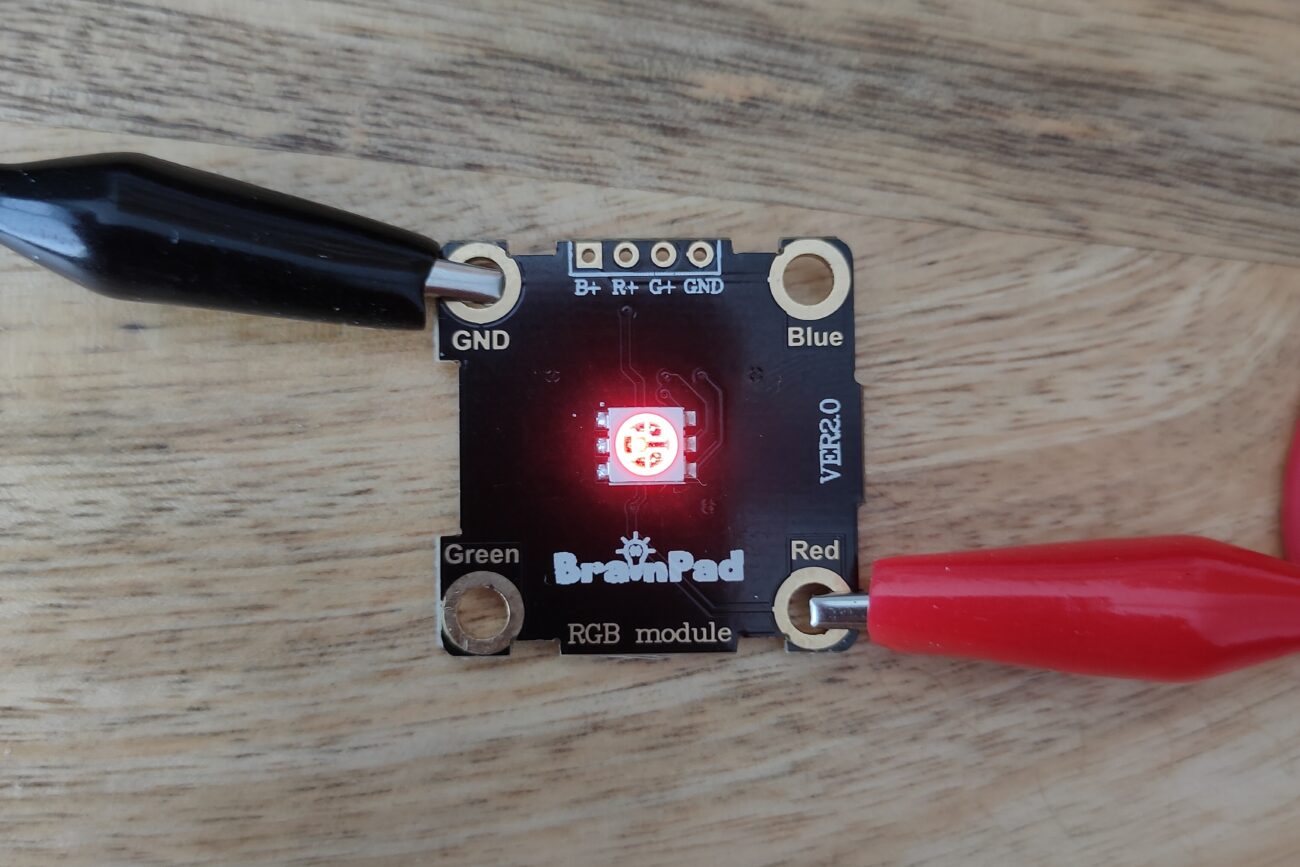
Now, we can do other colors, let’s try adding Green color!
All you need, to connect Green PIN to PIN1 in Arcade, and add the same code to activate the PIN1.


Mixing Red and Green, will give us Yellow!
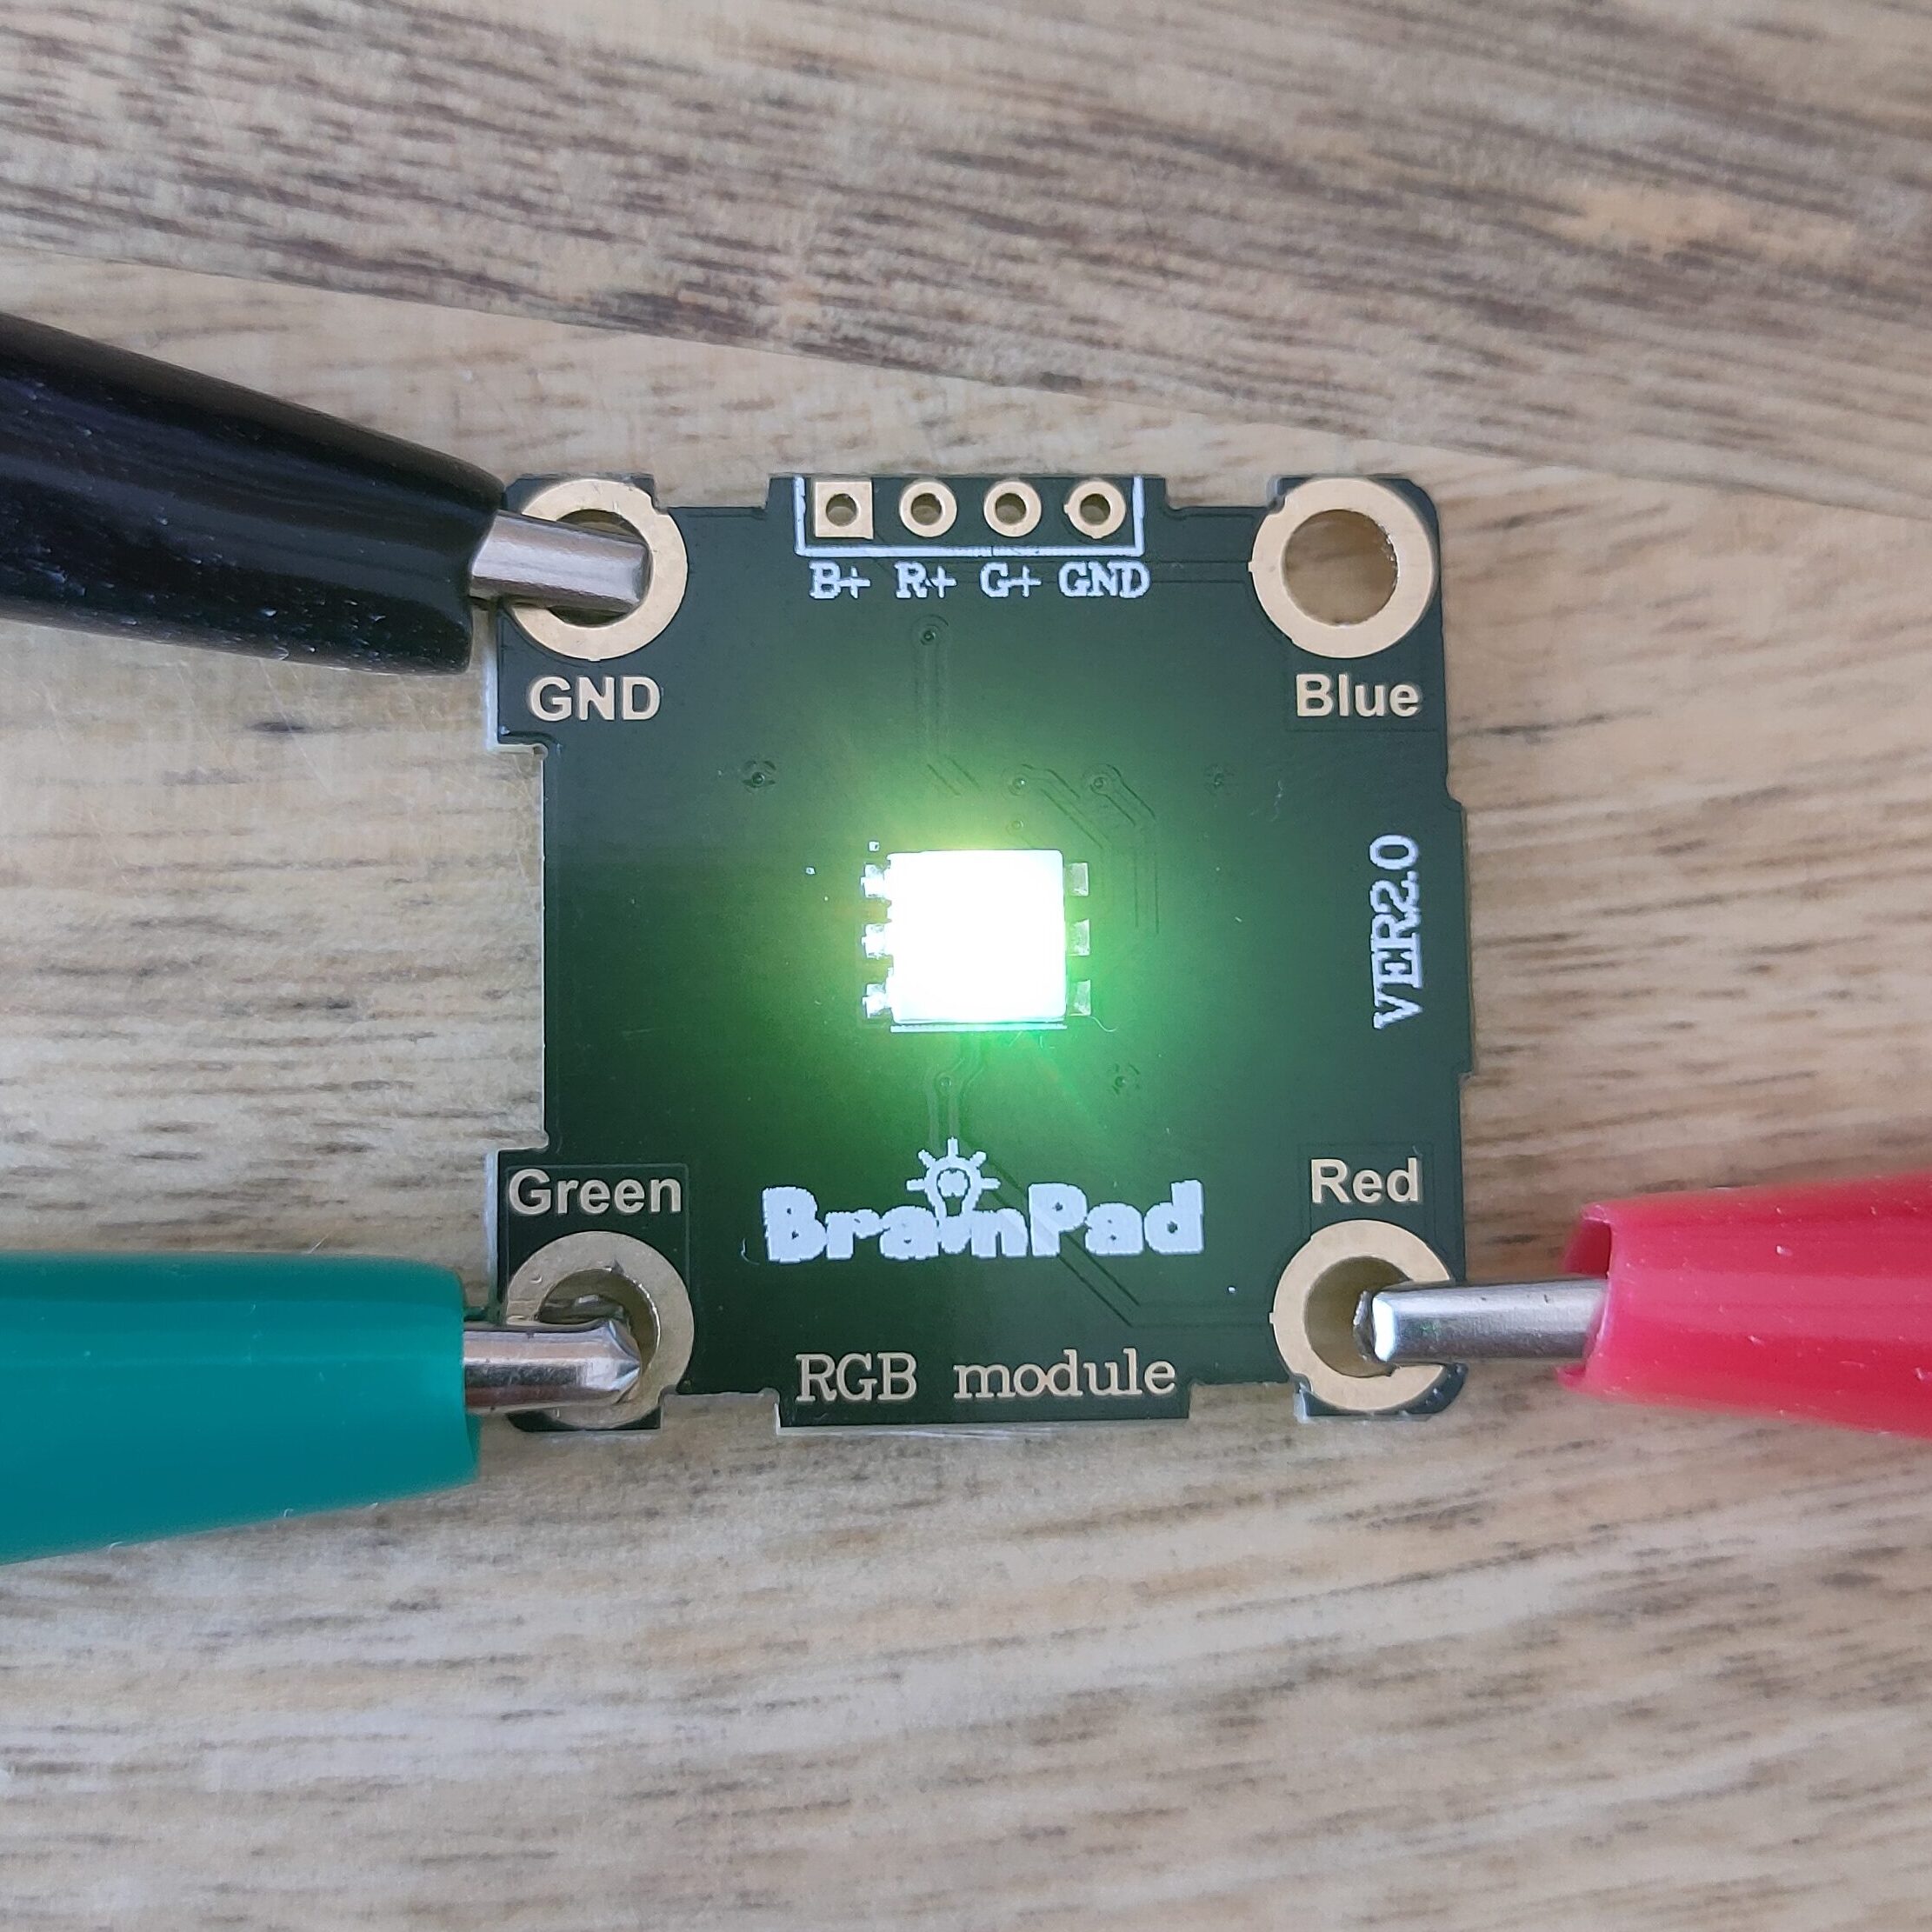
We can turn on the Blue color, and do some coloring magic! mixing the colors to have a new color.
Then?
After trying to mix the colors, what can we do then? Can you make one color brighter than others?
What code will we use to adjust each color brightness?
Let’s see in the next project!


