Project Overview
Creating a Dynamic Logo Fading Effect
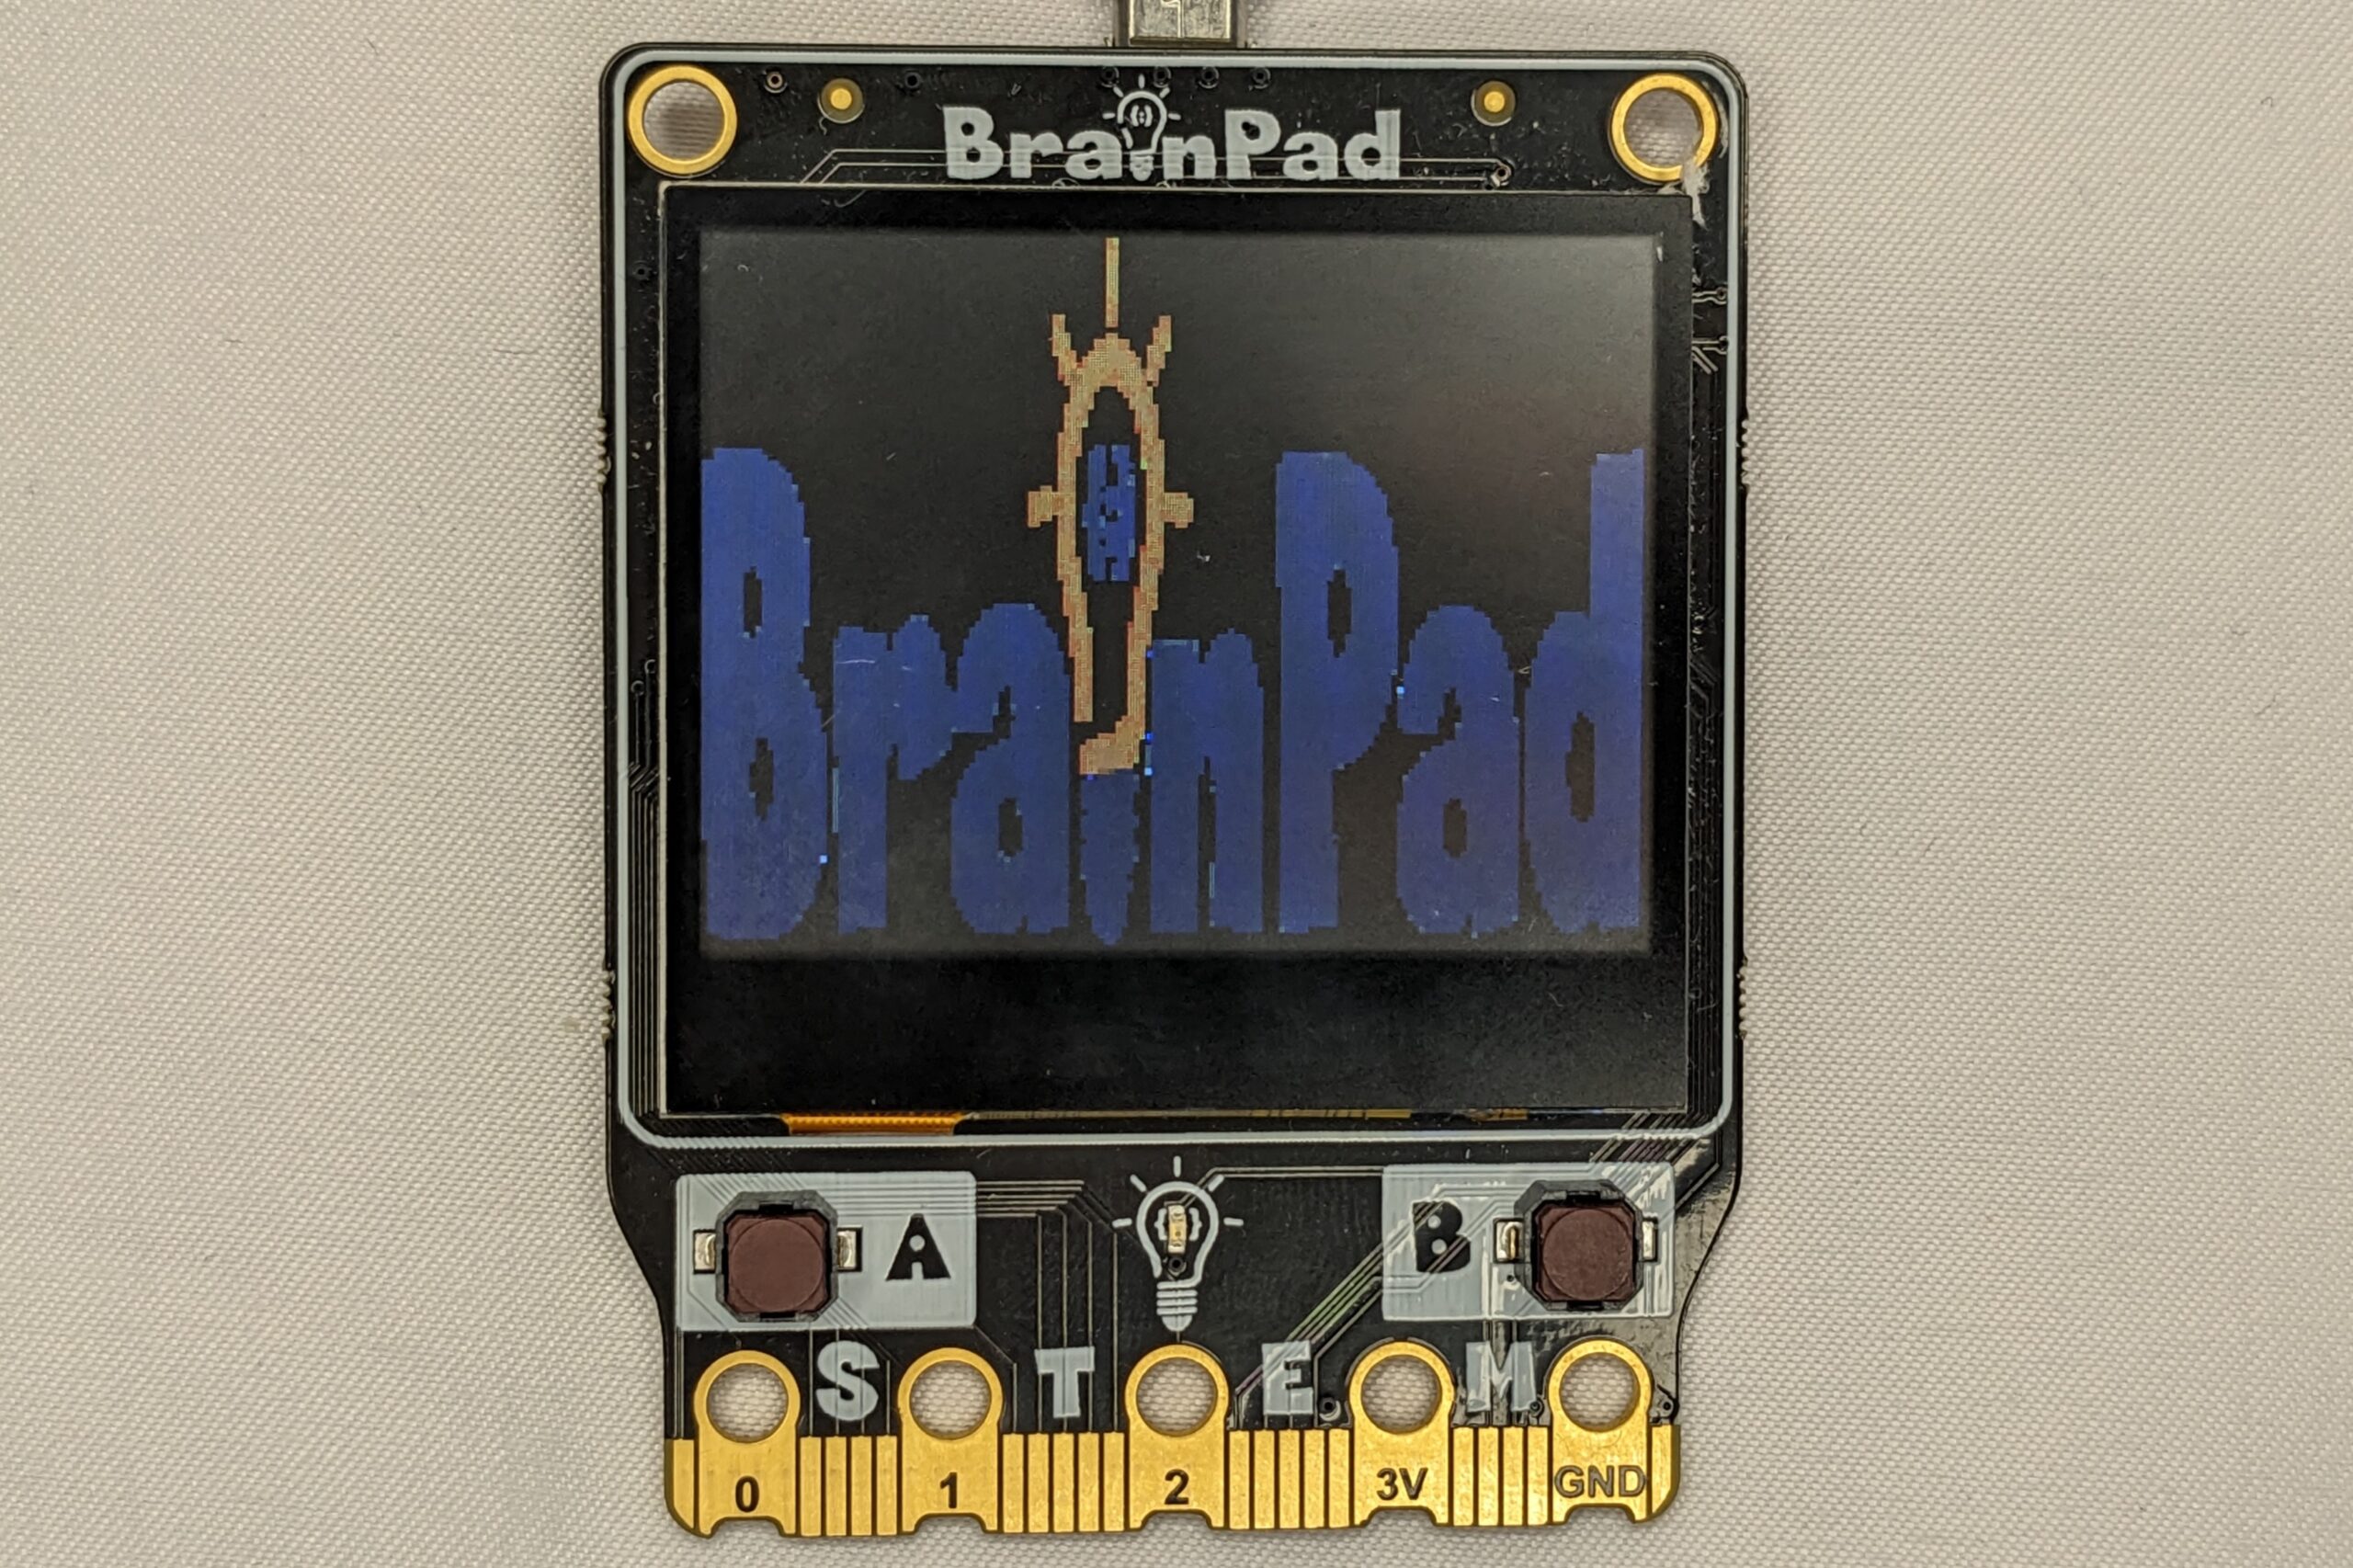
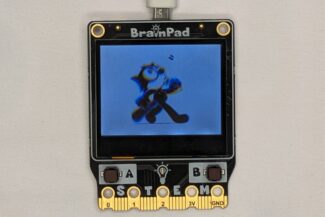
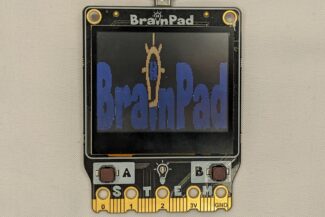
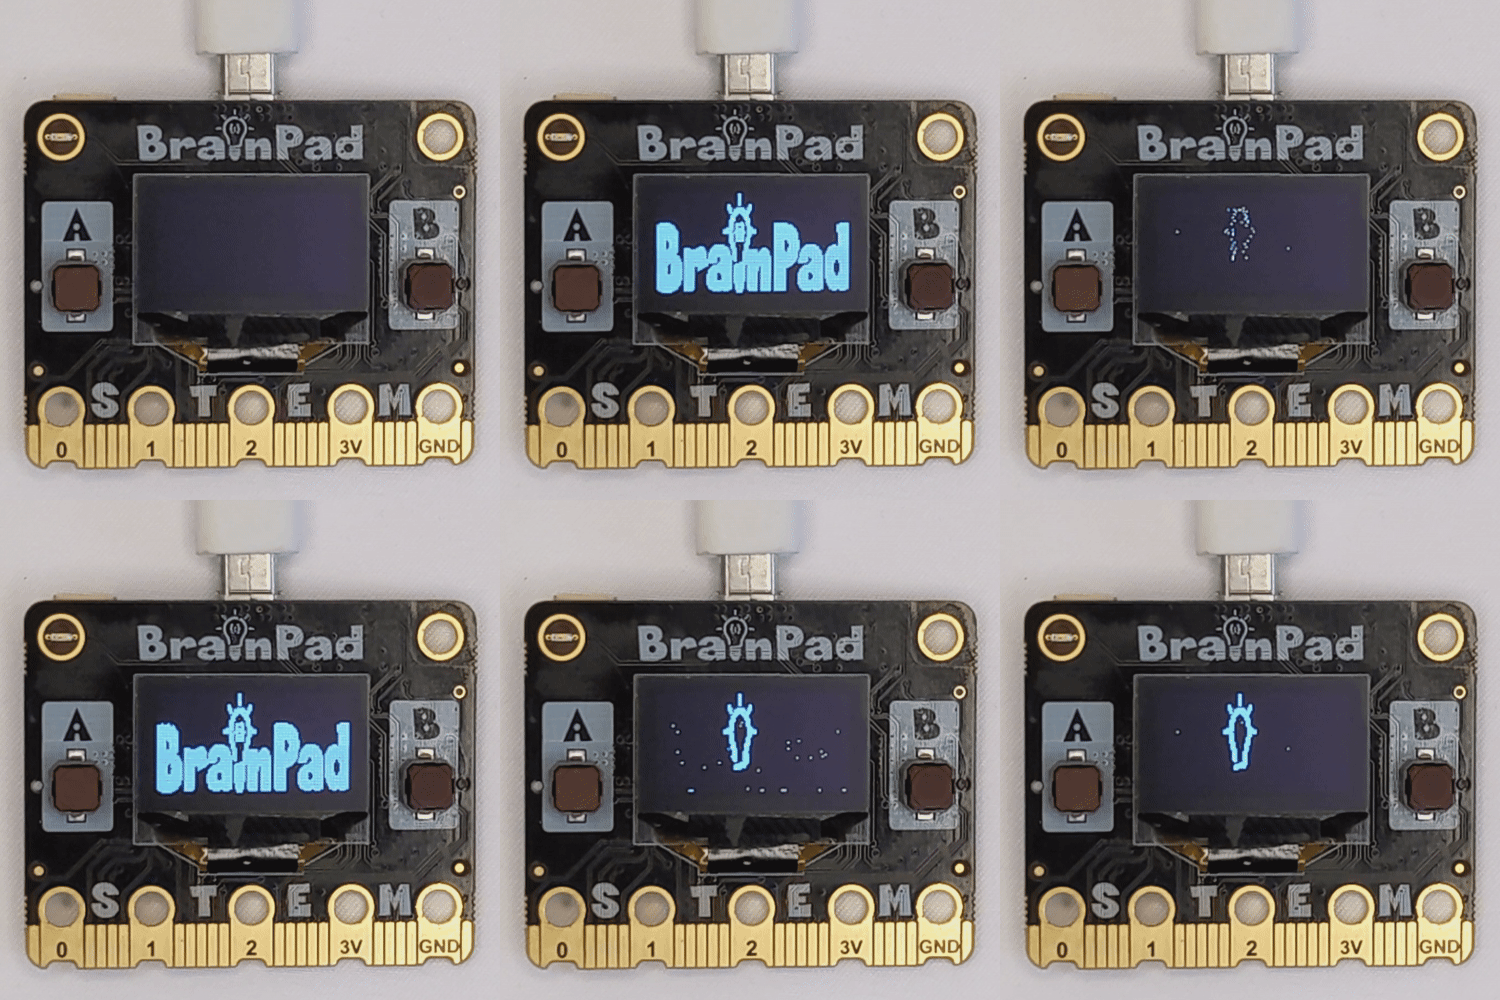
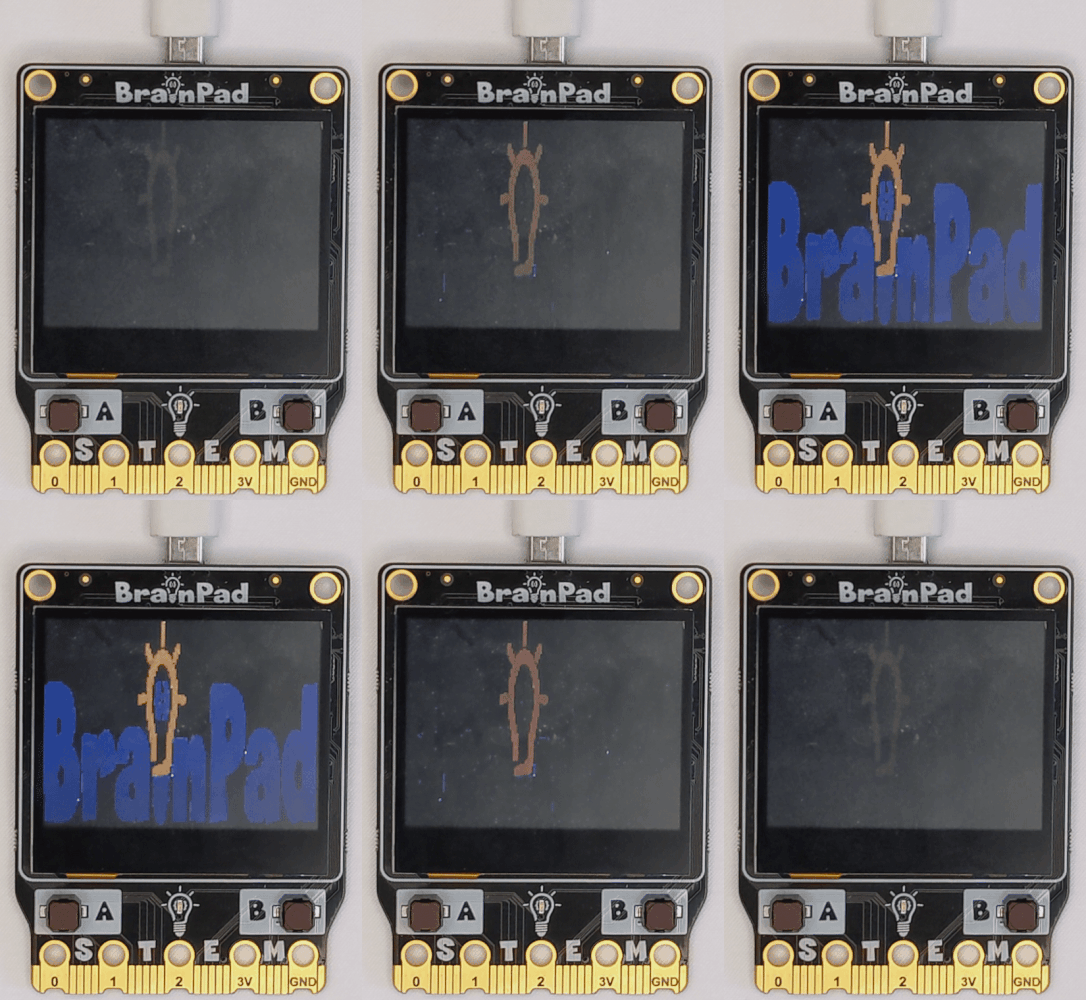
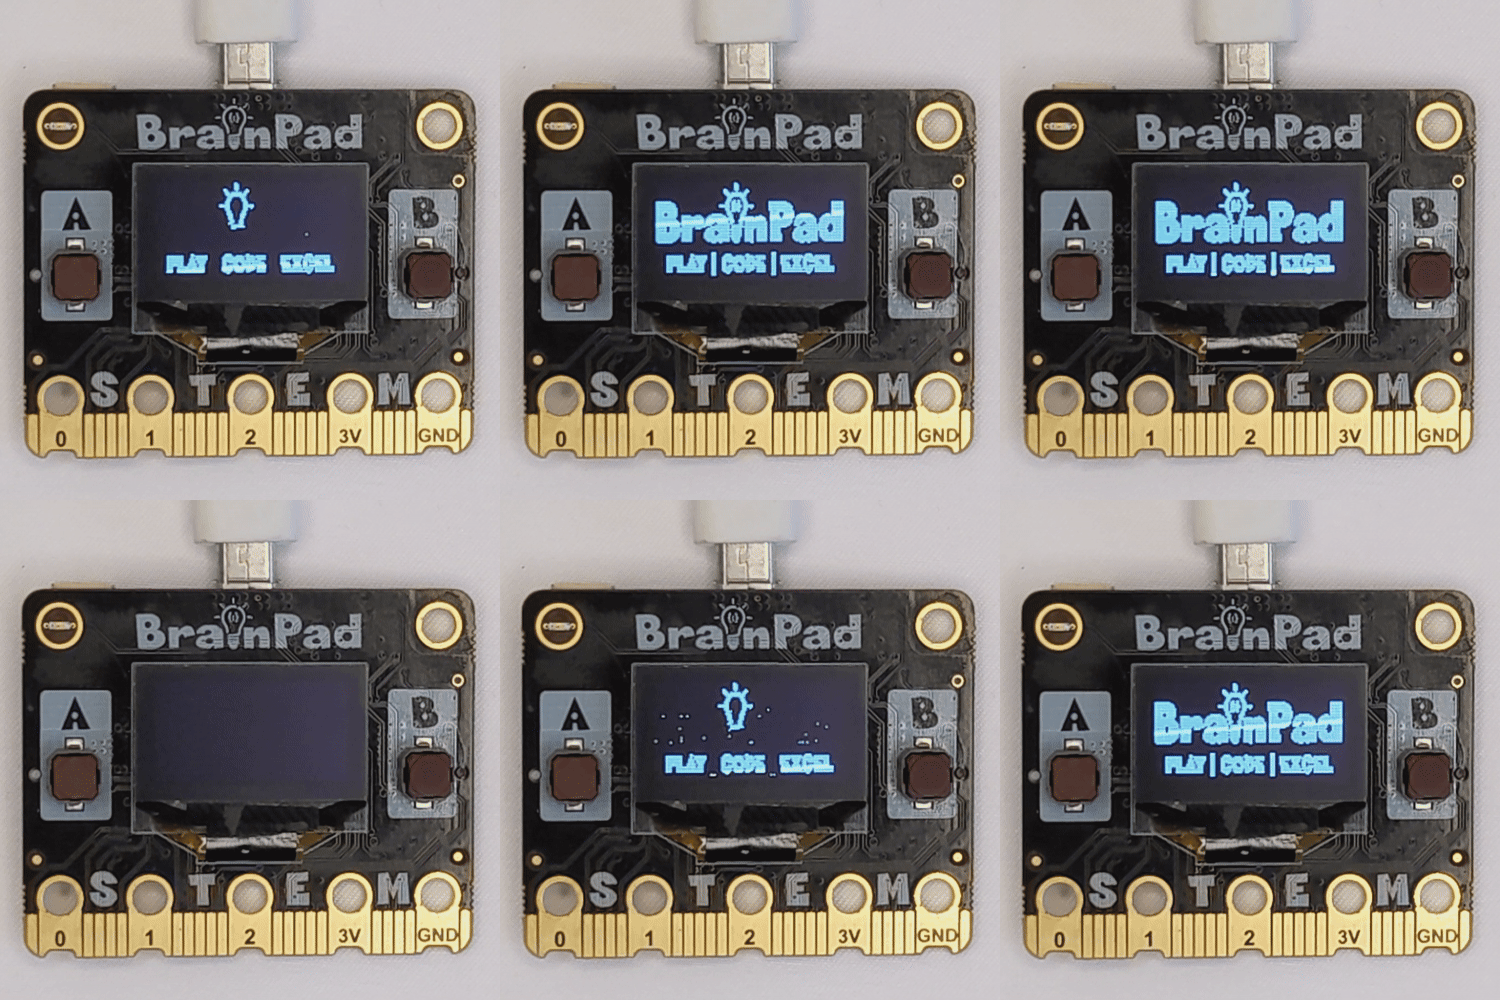
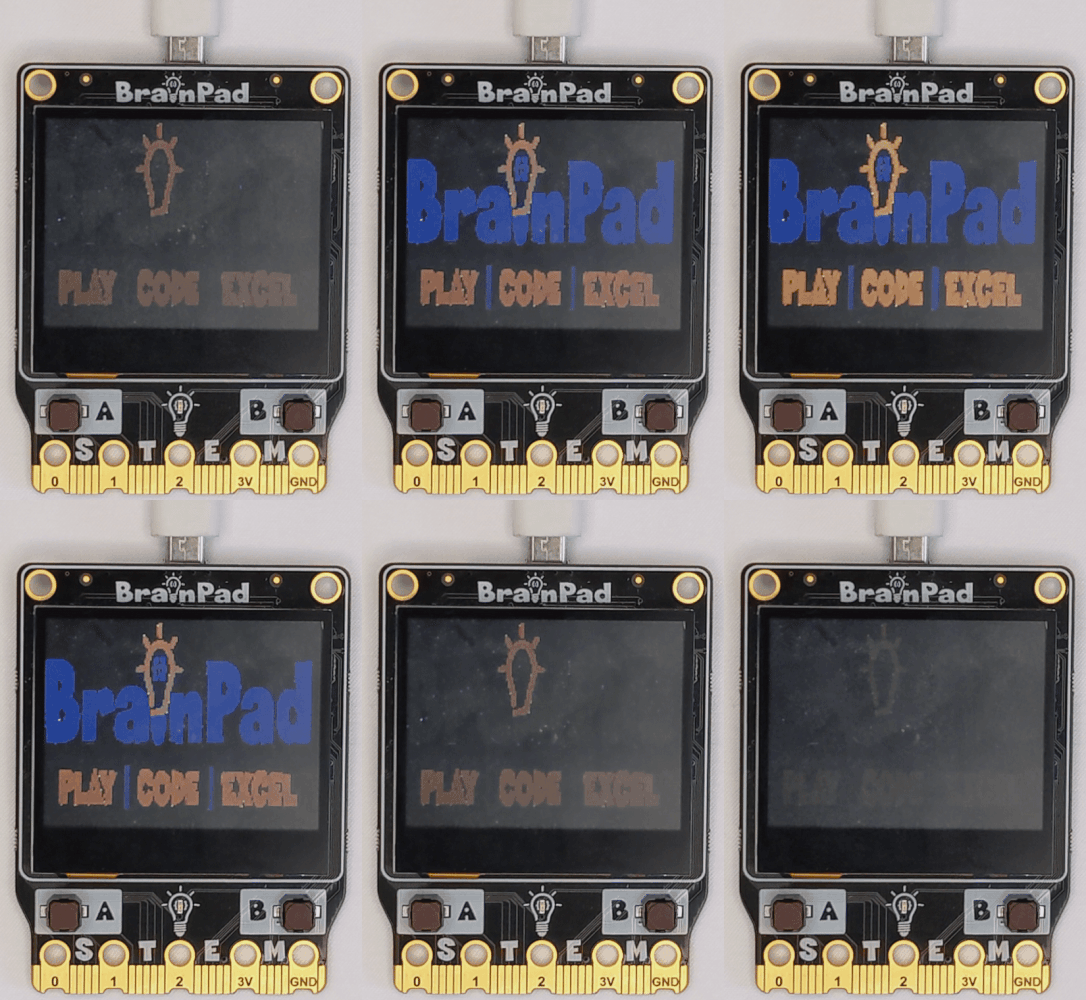
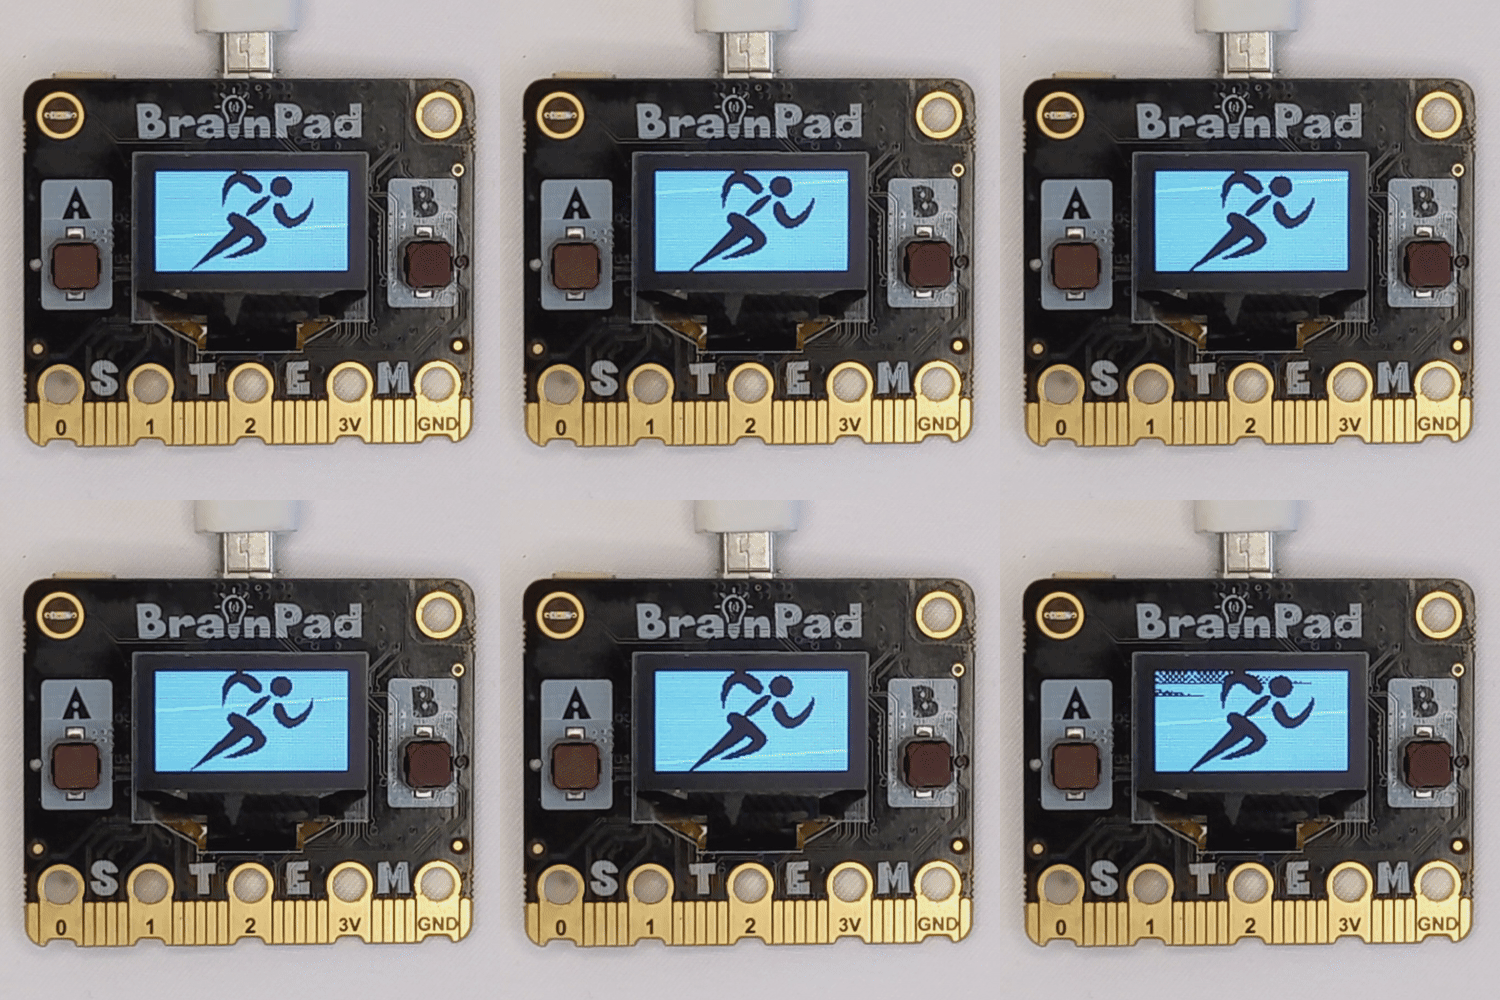
Embark on an engaging project to make the LCD screens on BrainPad Pulse or Rave microcomputers work like an advertising screen, displaying a fading effect for a logo image. Whether it’s the black and white LCD screen of Pulse or the colorful LCD screen of Rave, this project demonstrates dynamic functionality based on the connected microcomputer.
How It Works
The Python script takes the path of a PNG logo image, resizes it based on the dimensions of the connected microcomputer’s LCD screen, and creates a fading effect by controlling the brightness. The fade effect is achieved through incremental adjustments in brightness, providing an engaging visual experience.
Hardware Requirements
To make this project, we need just for :
- BrainPad Pulse or Rave microcomputer
- USB cable
Software Requirements
Ensure you have Python 3.10 installed on your computer. Install the required library using the following command:
pip install DUELink

pip install pillow
Code Overview
Let us break down the Python code into smaller steps and provide a comprehensive explanation for each part:
from PIL import Image, ImageEnhance
from DUELink.DUELinkController import DUELinkController

# Obtain the available communication port from DUELinkController
availablePort = DUELinkController.GetConnectionPort()

# Initialize DUELinkController with the obtained port
BrainPad = DUELinkController(availablePort)

def get_image_pixels(filename):
    # Open the image file using the PIL library
    image = Image.open(filename)
    image = image.convert("RGBA")  # Convert the image to the RGBA mode for transparency support

    # Display logic for Rave BrainPad
    if BrainPad.IsRave:
        image = image.resize(size=(160, 120))  # Resize image for Rave BrainPad
        enhancer = ImageEnhance.Brightness(image)

        # Display brightening animation
        for i in range(0, 11):
            image = enhancer.enhance(i / 10)
            image_bytes = image.tobytes()
            BrainPad.Display.DrawBuffer(image_bytes, 8)  # color_depth = 4, 8, or 16

        # Display dimming animation
        for i in range(10, -1, -1):
            image = enhancer.enhance(i / 10)
            image_bytes = image.tobytes()
            BrainPad.Display.DrawBuffer(image_bytes, 8)  # color_depth = 4, 8, or 16

    # Display logic for Pulse BrainPad
    if BrainPad.IsPulse:
        image = image.resize(size=(128, 64))  # Resize image for Pulse BrainPad
        enhancer = ImageEnhance.Brightness(image)

        # Display brightening animation
        for i in range(0, 11):
            image = enhancer.enhance(i / 500)
            image_bytes = image.tobytes()
            BrainPad.Display.DrawBuffer(image_bytes, 1)

        # Display dimming animation
        for i in range(10, -1, -1):
            image = enhancer.enhance(i / 500)
            image_bytes = image.tobytes()
            BrainPad.Display.DrawBuffer(image_bytes, 1)

def main():
    # Clear the display and show the initial state
    BrainPad.Display.Clear(0)
    BrainPad.Display.Show()

    # Display the pixels of the specified image
    get_image_pixels("BrainPad_Logo.png")

if __name__ == '__main__':
    # Execute the main function when the script is run
    main()
Customization:
- Color Depth:
Adjust the color depth in the DrawBuffer function which is 8 in our example. Higher values result in more realistic colors but slower processing. Experiment with values like 4, 8, or 16, you can learn more about BrainPad FrameBuffer from here.
- Exploring Other Effects:
Try different enhancements or image processing techniques to create various visual effects. Modify the code to experiment with fading speed and color adjustments, or even introduce additional graphics elements for a unique experience.
- Language Exploration
Explore languages like C# or JavaScript on BrainPad from here to create the same project with logic-matching language syntax and take advantage of the microcomputer’s versatility.

