DUE BrainBot Autonomous
Self-driving cars and robots don’t actually drive by themselves without many lines of code and sensors. You can create a simple self-driving BrainBot that will follow a line. This is one of the first steps in understanding how AI (Artificial Intelligence) works.
Prerequisite
This assumes you’ve already completed all of the other BrainBot lessons, understand basic coding principles, and are ready to give the BrainBot some ‘Brains’.
Ground Sensors
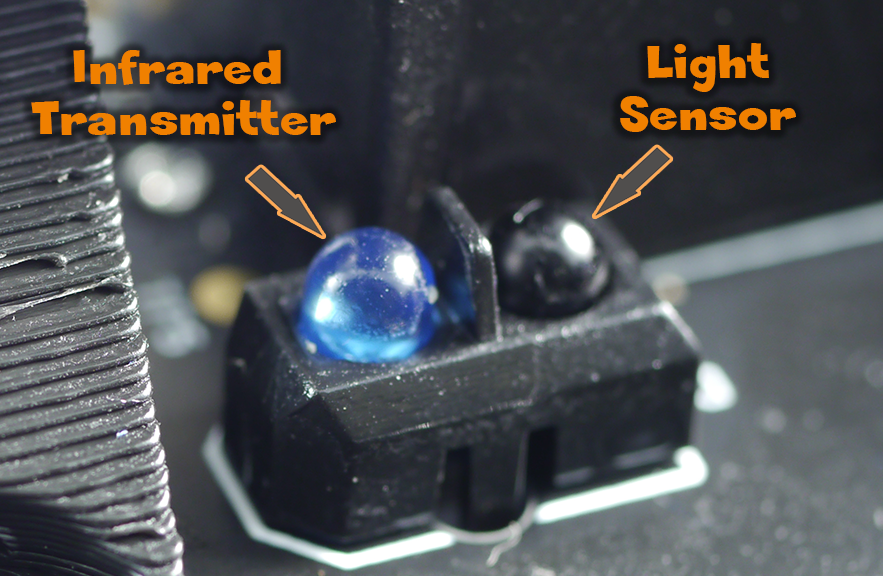
The BrainBot is equipped with two ground sensors for detecting ground reflection. They are located underneath the BrainBot on either side of the front wheel.
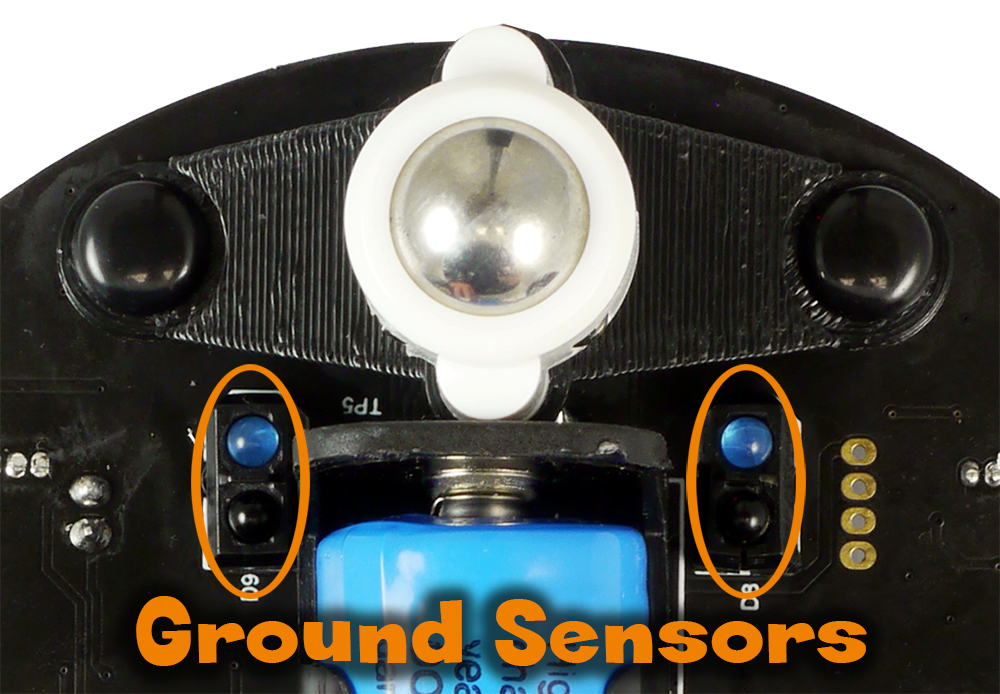
The ground sensors use the ground to reflect back an infrared beam back to a light sensor located next to them. If you look closely at them, you’ll see a separator between both. This is so it only gets the value from the reflection off the ground and not spill over from the beam itself. The infrared light sensor may look black to our eyes, but it is designed to filter out all other light except the infrared.
GroundSensor() function
The GroundSensor() function requires no arguments and uses one function to check the value of both sensors and return the appropriate value below.
| Returned value | Meaning |
|---|---|
| 0 | Black line on both sensors (No white reflection is detected). |
| 1 | Black line on the left side. (White reflection is detected on the right sensor). |
| 2 | Black line on the right side (White reflection is detected on the left sensor). |
| 3 | No Black line on either sensors (White reflection is detected on both the left and the right sensors). |
Reading the Sensors
First you can start by programming the sensors to detect the ground below and display the proper value on the screen. If you have a connected display, are you remembering to activate it with print? We will add it in this example as a reminder.
LcdConfig(2,0)
@Loop
    Sense()
    Println(g)
    Wait(100)
Goto Loop
Try running the code and place the robot on a white paper then lift off the paper or place on a black surface.
Invisible Fence
This is a very simple AI program that impresses everyone! You can use the line map included inside the BrainBot kit but, for a cooler effect, find a while/light surface and verify that the sensors on the robots “see” the surface properly, meaning you read 0 from the sensor. Then use black electrical tape to draw a shape on the ground, any shape you like. The robot will now be dancing inside the shape.
@Loop
    L=40:R=40
    Move()
    Sense()
    If g > 0
        Avoid()
    End
    Wait(100)
Goto Loop

@Avoid
    L=-40:R=-40
    Move()
    Wait(200)
    L=40
    Move()
    Wait(200)
    Stop()
Return
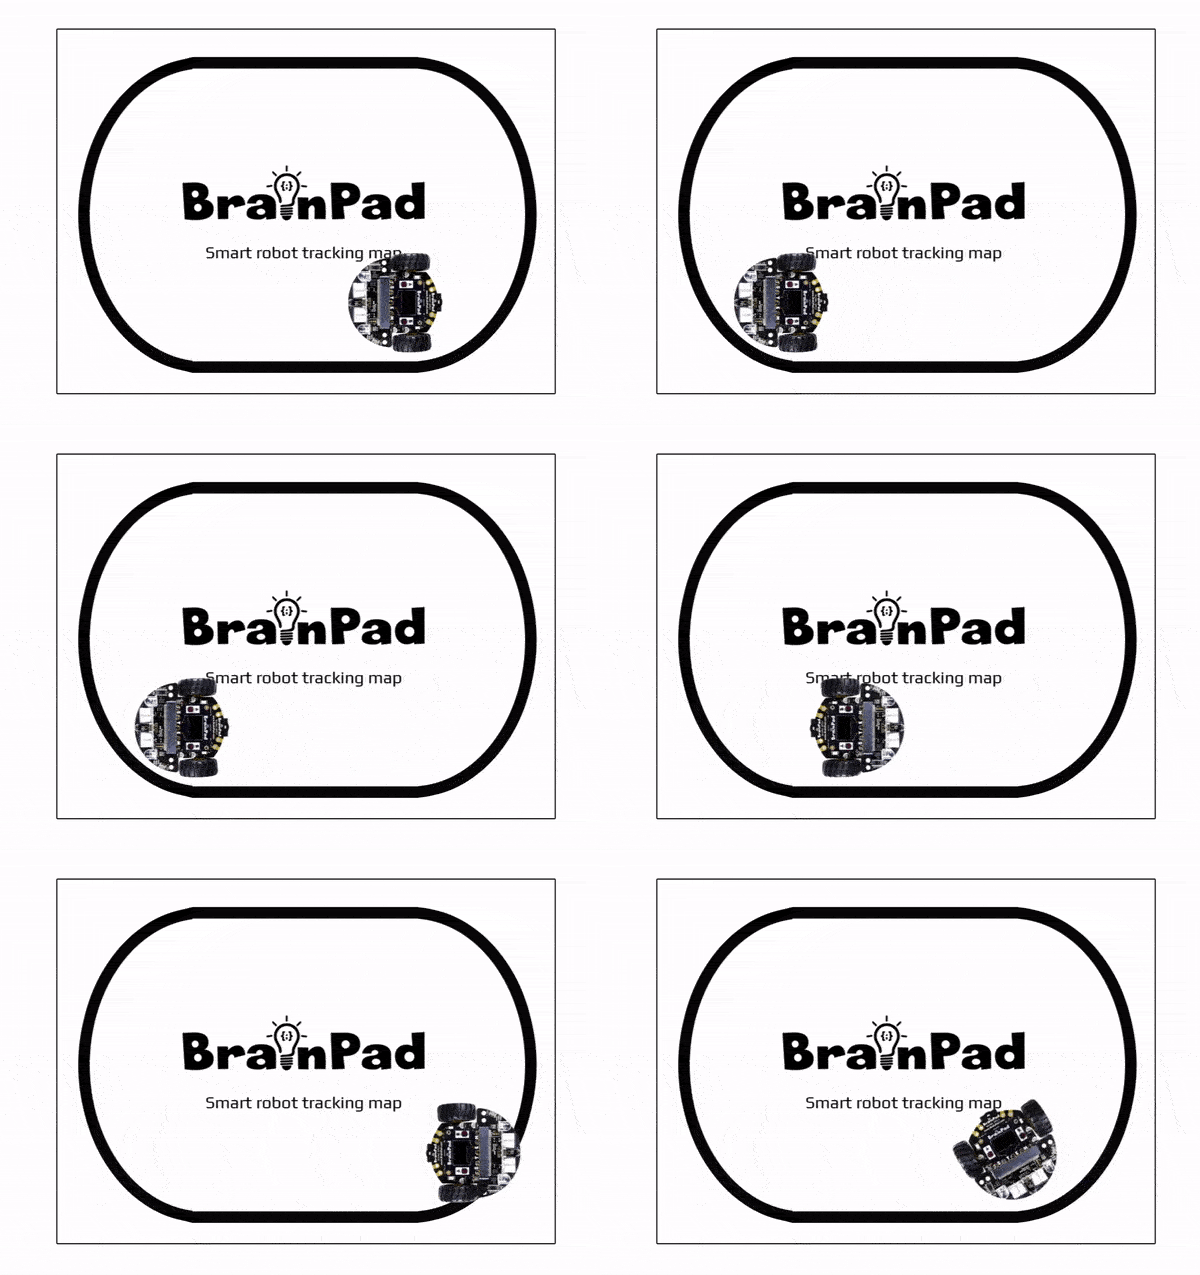
It might try to escape so keep in eye on it! If using the line map, the robot will also mistaken the black logo as a black like. You can always use the back of the line map and make your own “line” using black tape.
Follow the Line
We are ready to take our robot’s intelligence to the next level! How about making a line follower? We will have to make a few changes inside our while loop to detect the line and keep the robot on the line.
@Loop
    Sense()
    If g = 0:L=25:R=25:Move():End
    If g = 1:L=0:R=25:Move():End
    If g = 2:L=25:R=0:Move():End
    If g = 3:Stop():End
    Println(d)
    Wait(50)
Goto loop
Place the BrainBot front wheel on the black line on the line map and then hit the A button to start the BrainBot. The BrainBot now follows the line and adjusts as it moves off the line to correct itself.
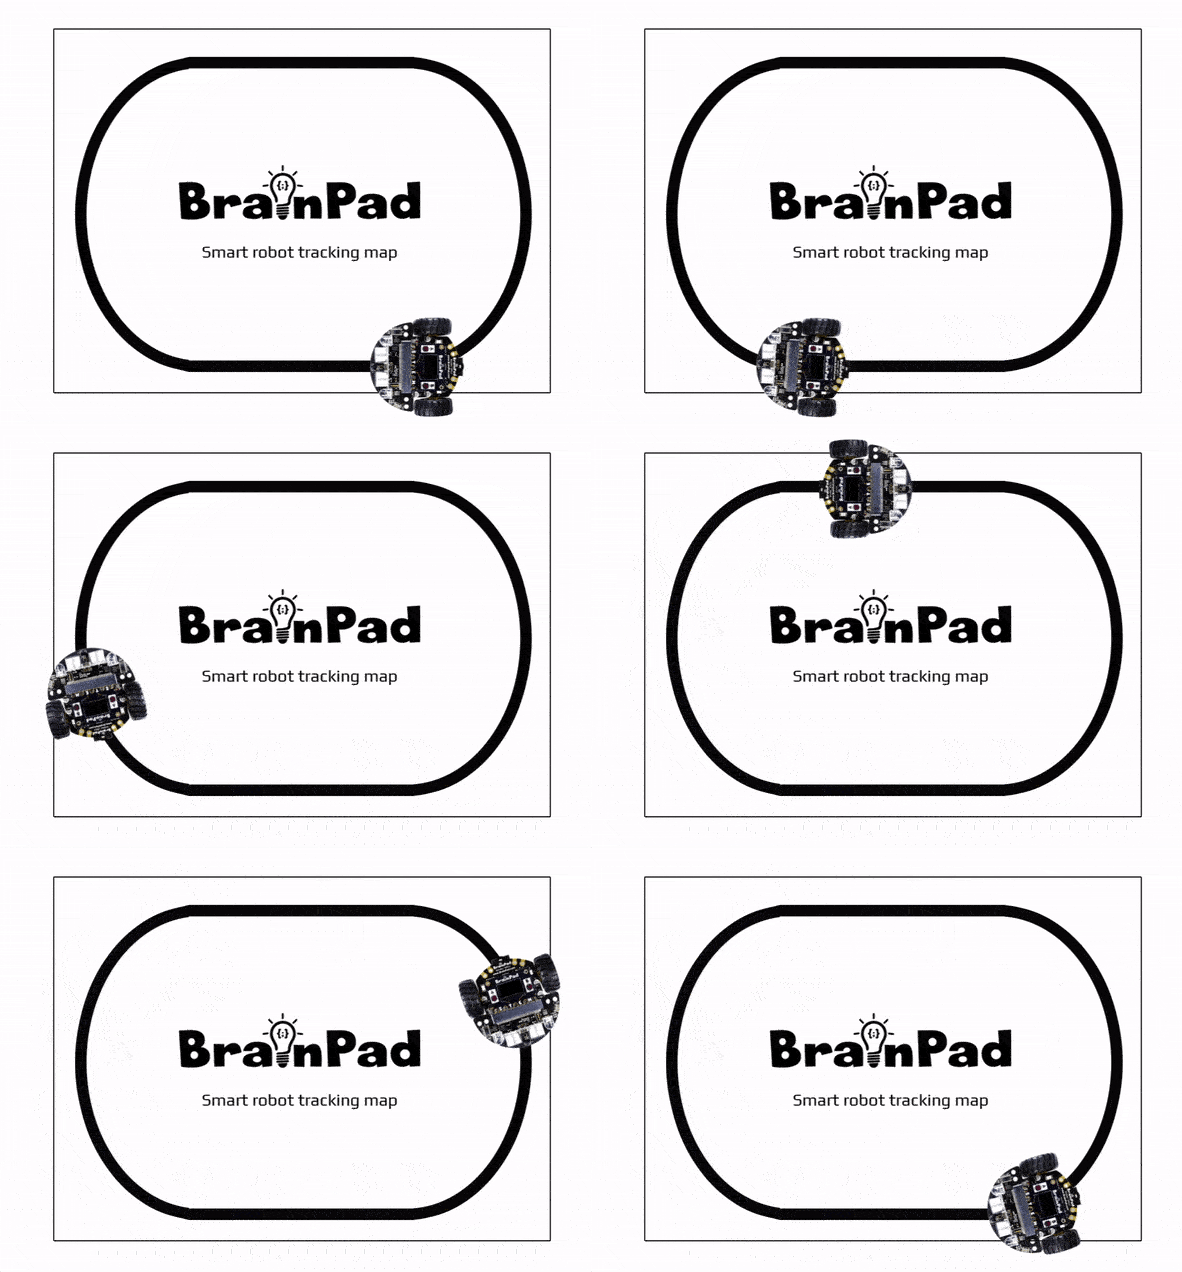
The algorithm used is very basic. It abruptly stops one of the wheels causing the robot to move in a zigzag movement.
BrainStorm
Now that you understand how both the distance sensor and the ground sensor work, can you think of ways to use both to create even more autonomy? What about how a robot might operate in a warehouse or plant floor? Autonomous vehicles are much more complex and require even more sensors and millions of lines of code to detect objects and people within it’s path.


