Project Overview
RGB Smart LED Control with Computer Vision
Embark on a journey into the computer vision world and smart lighting with our BrainPad Edge and smart RGB LED Control project. This project seamlessly combines the power of computer vision through Python with the BrainPad microcomputers. allowing you to dynamically control the smart LED based on the colors detected by a camera.
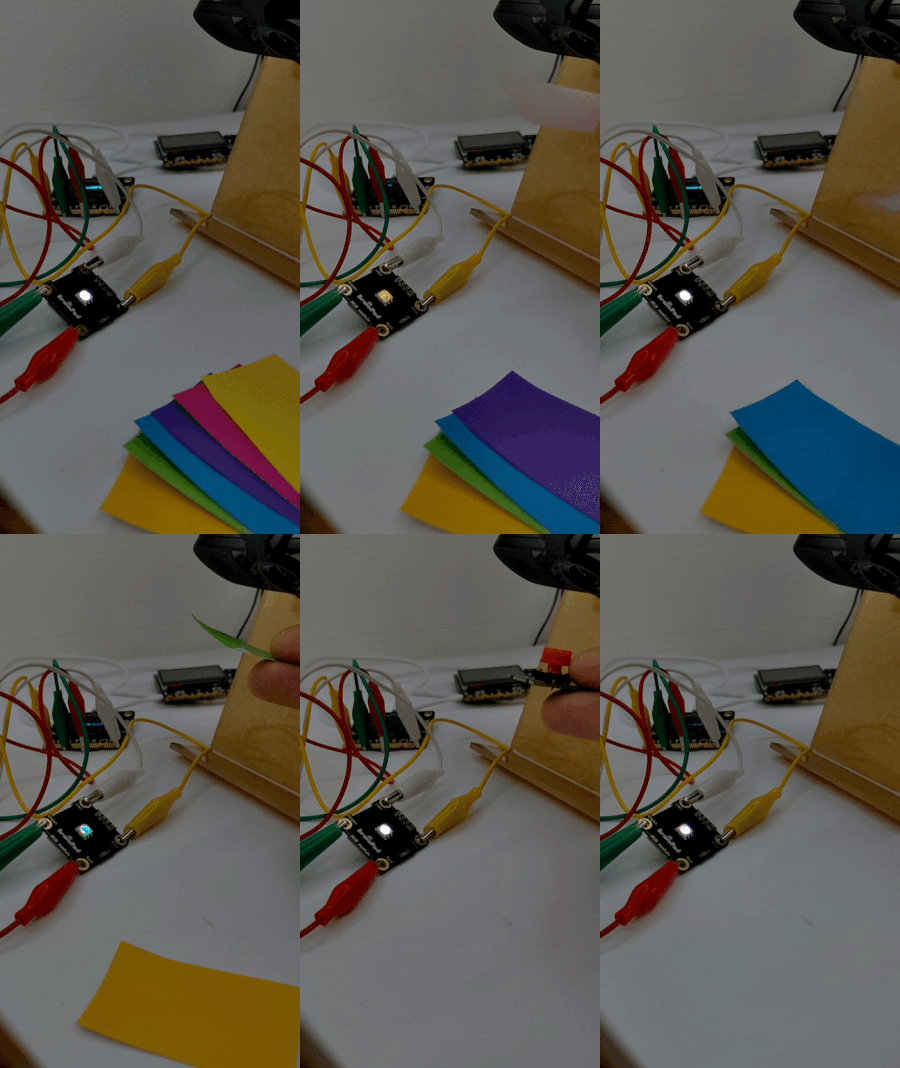
How It Works
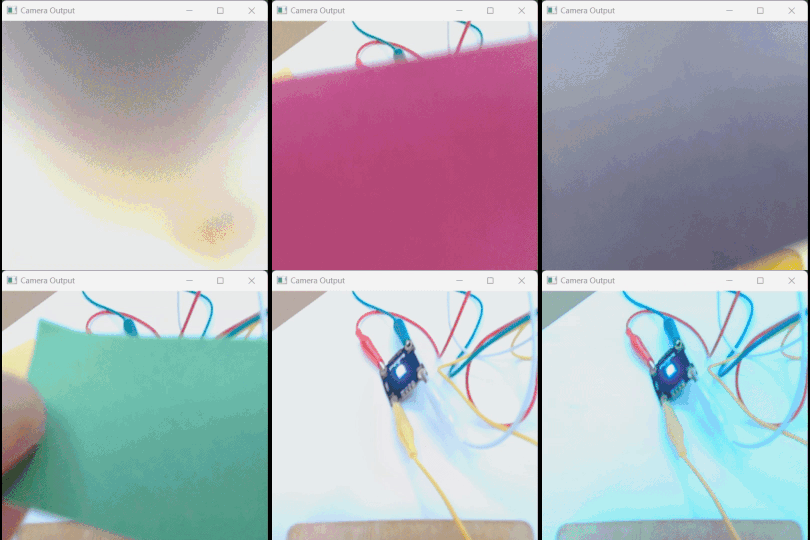
The project captures live video feed from a camera, processes the color information, and adjusts the RGB LED’s color based on the mean values of the detected colors. The user can fine-tune the brightness and contrast to adapt to different lighting conditions.
Hardware Requirements
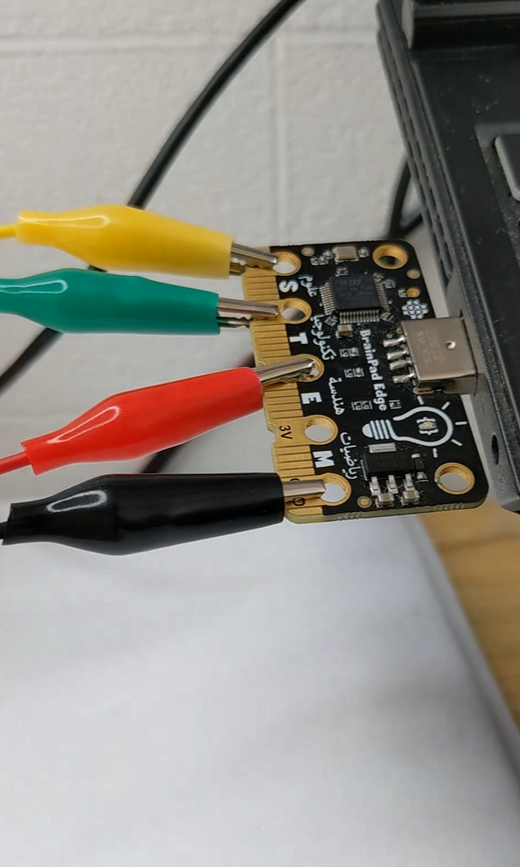
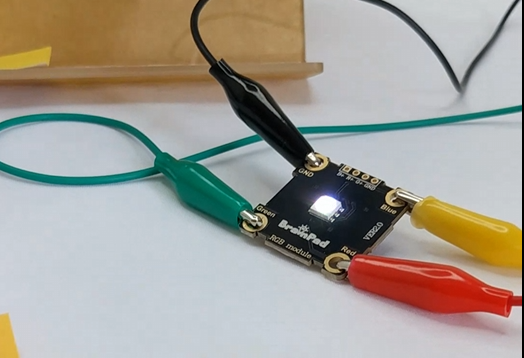
To build this project, you’ll need a BrainPad Edge, an RGB LED module from the BrainClip kit, a camera (laptop camera or USB camera), and the necessary connecting alligator clips wires.
Software Requirements
Ensure you have Python 3.10 installed on your computer. Additionally, install the required libraries using the following commands:
pip install opencv-python

pip install DUELink

pip install numpy
Code Overview
Let’s break down the Python code into smaller steps and provide a comprehensive explanation for each part:
Initialize BrainPad Connection and Open Camera:
import cv2
from DUELink.DUELinkController import DUELinkController
import numpy as np

# Initialize BrainPad Connection
availablePort = DUELinkController.GetConnectionPort()
BrainPad = DUELinkController(availablePort)

# Open the camera (default laptop camera index is usually 0 / USB camera index is usually 1)
cap = cv2.VideoCapture(1)
Main Loop for Color Detection and LED Control:
    import cv2
    from DUELink.DUELinkController import DUELinkController
    import numpy as np

    # Initialize BrainPad Connection
    availablePort = DUELinkController.GetConnectionPort()
    BrainPad = DUELinkController(availablePort)

    # Open the camera (default laptop camera index is usually 0 / USB camera index is usually 1)
    cap = cv2.VideoCapture(1)

    # Set the dimensions
    height = 400
    width = 400

    while True:
        # Read a frame from the camera
        ret, frame = cap.read()

        if not ret:
            print("Error reading frame")
            break

        # Resize the frame
        frame = cv2.resize(frame, (height, width))

        # Display the camera output on the computer screen
        cv2.imshow('Camera Output', frame)
        # Slicing the blue channel
        b = frame[:, :, :1]
        # Slicing the green channel
        g = frame[:, :, 1:2]
        # Slicing the red channel
        r = frame[:, :, 2:]

        # Depends on the lighting of the room
        brightness = 140
        contrast = 50

        # computing the mean
        b_mean = int(np.mean(b) - brightness)
        g_mean = int(np.mean(g) - brightness)
        r_mean = int(np.mean(r) - brightness)

        if (b_mean > g_mean and b_mean >
                r_mean):
            b_mean += contrast
        elif (g_mean > r_mean and g_mean
              > b_mean):
            g_mean += contrast
        else:
            r_mean += contrast

        # To make sure there are no negative value for the color value
        if b_mean < 0:
            b_mean = 0
        if g_mean < 0:
            g_mean = 0
        if r_mean < 0:
            r_mean = 0

        print(f"Blue = {b_mean} || Green = {g_mean} || Red = {r_mean}")

        # Passing the BGR value to the RGB BrainPad module
        BrainPad.Analog.Write(0, b_mean)
        BrainPad.Analog.Write(1, g_mean)
        BrainPad.Analog.Write(2, r_mean)

        # Break the loop when the 'q' key is pressed
        if cv2.waitKey(1) & 0xFF == ord('q'):
            break

    # Release the camera and close all OpenCV windows
    cap.release()
    cv2.destroyAllWindows()
Customization:
- Adjust Brightness and Contrast:
Experiment with adjusting the brightness and contrast values in the code based on the lighting conditions of your room.
- Upgrade to LED Ring (NeoPixel) from BrainClip:
Replace the single RGB LED with an LED ring (NeoPixel) from BrainClip you can find it here. Modify the code to control the LED ring as a NeoPixle allowing the creation of dynamic lighting effects.
- Explore Different Programming Languages with BrainPad Edge:
Try rewriting the project code in alternative languages such as C# or JavaScript using the BrainPad Edge. Explore the various coding options available here and observe how the project behaves in different languages.


Start the discussion at GHI Electronics forums